Assembling a Solar Connector: 5 Steps You Need to Know
JUNE 1ST,2023
Assembling a Solar Connector: 5 Steps You Need to Know
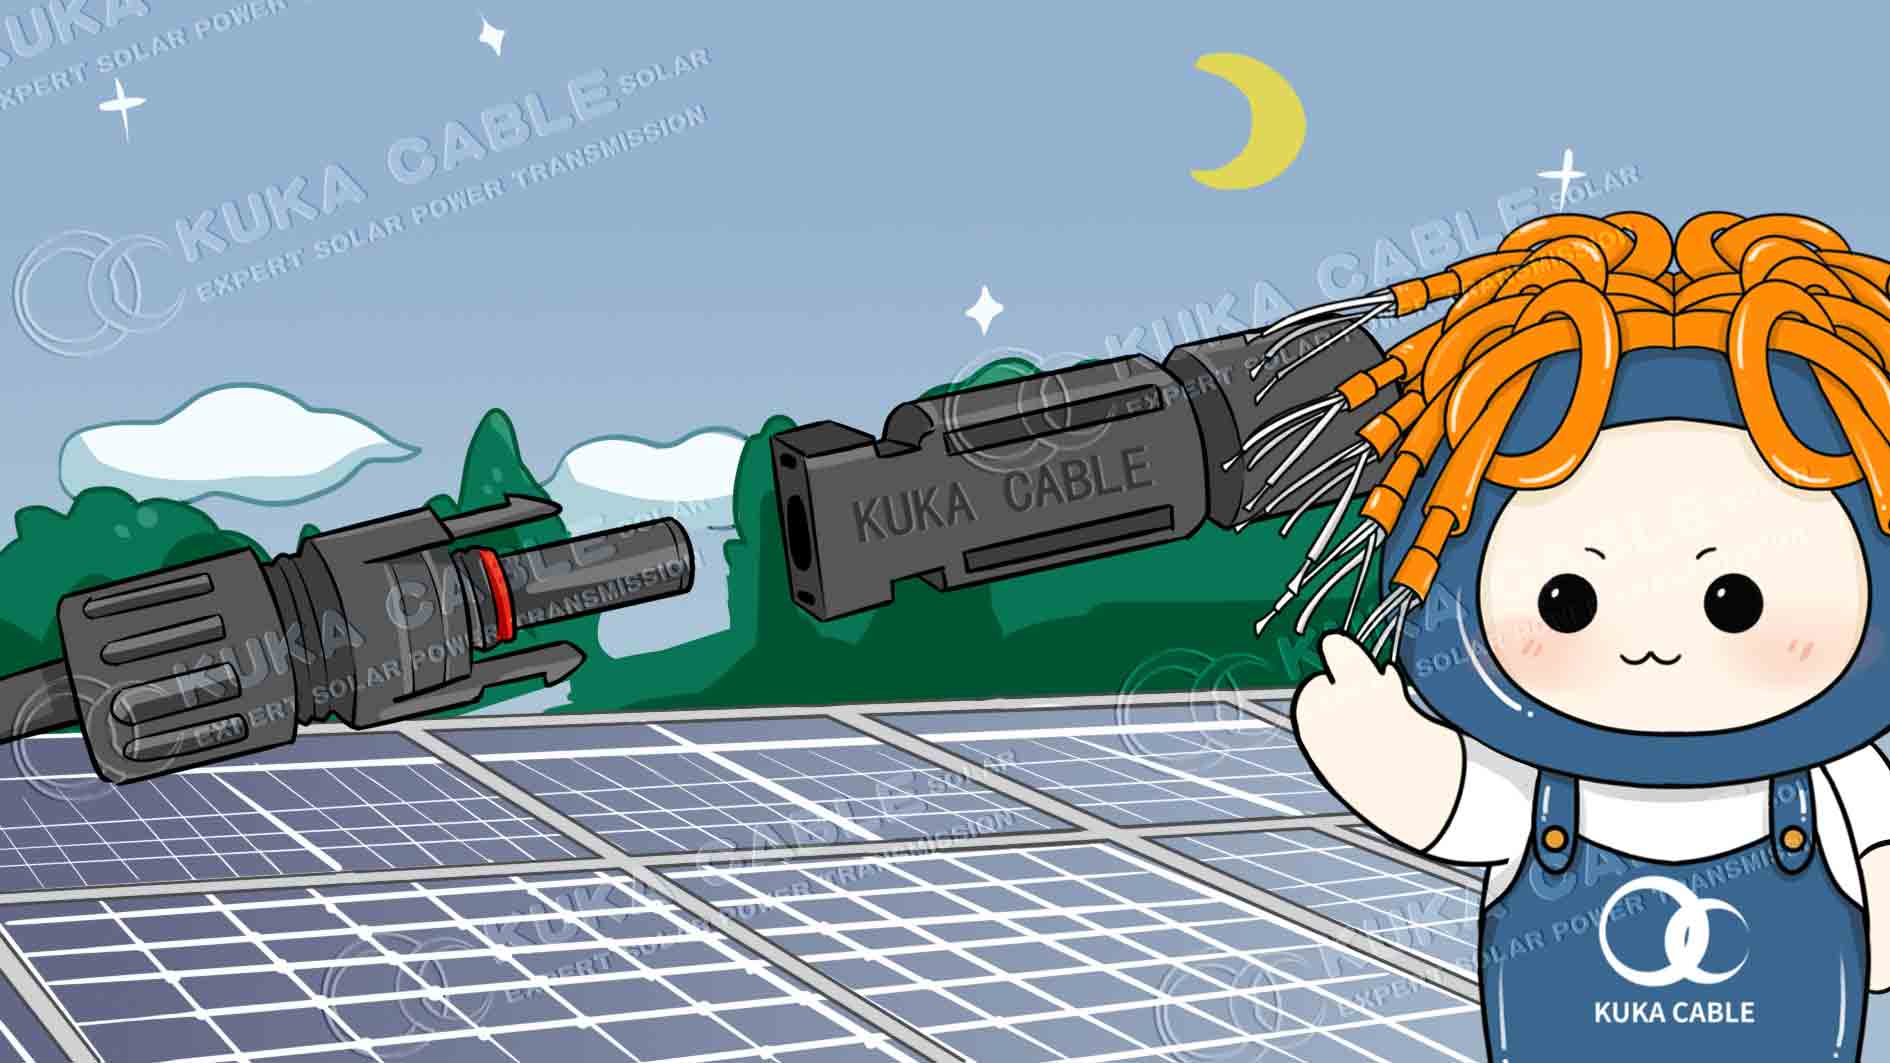
What type of connectors are utilized for solar panels?
Connectors are essential components of PV systems that enable the connection of solar panels to each other, inverters, or module-level devices such as power optimizers. There are various types of solar panel connectors available, including MC4, MC3, and others.
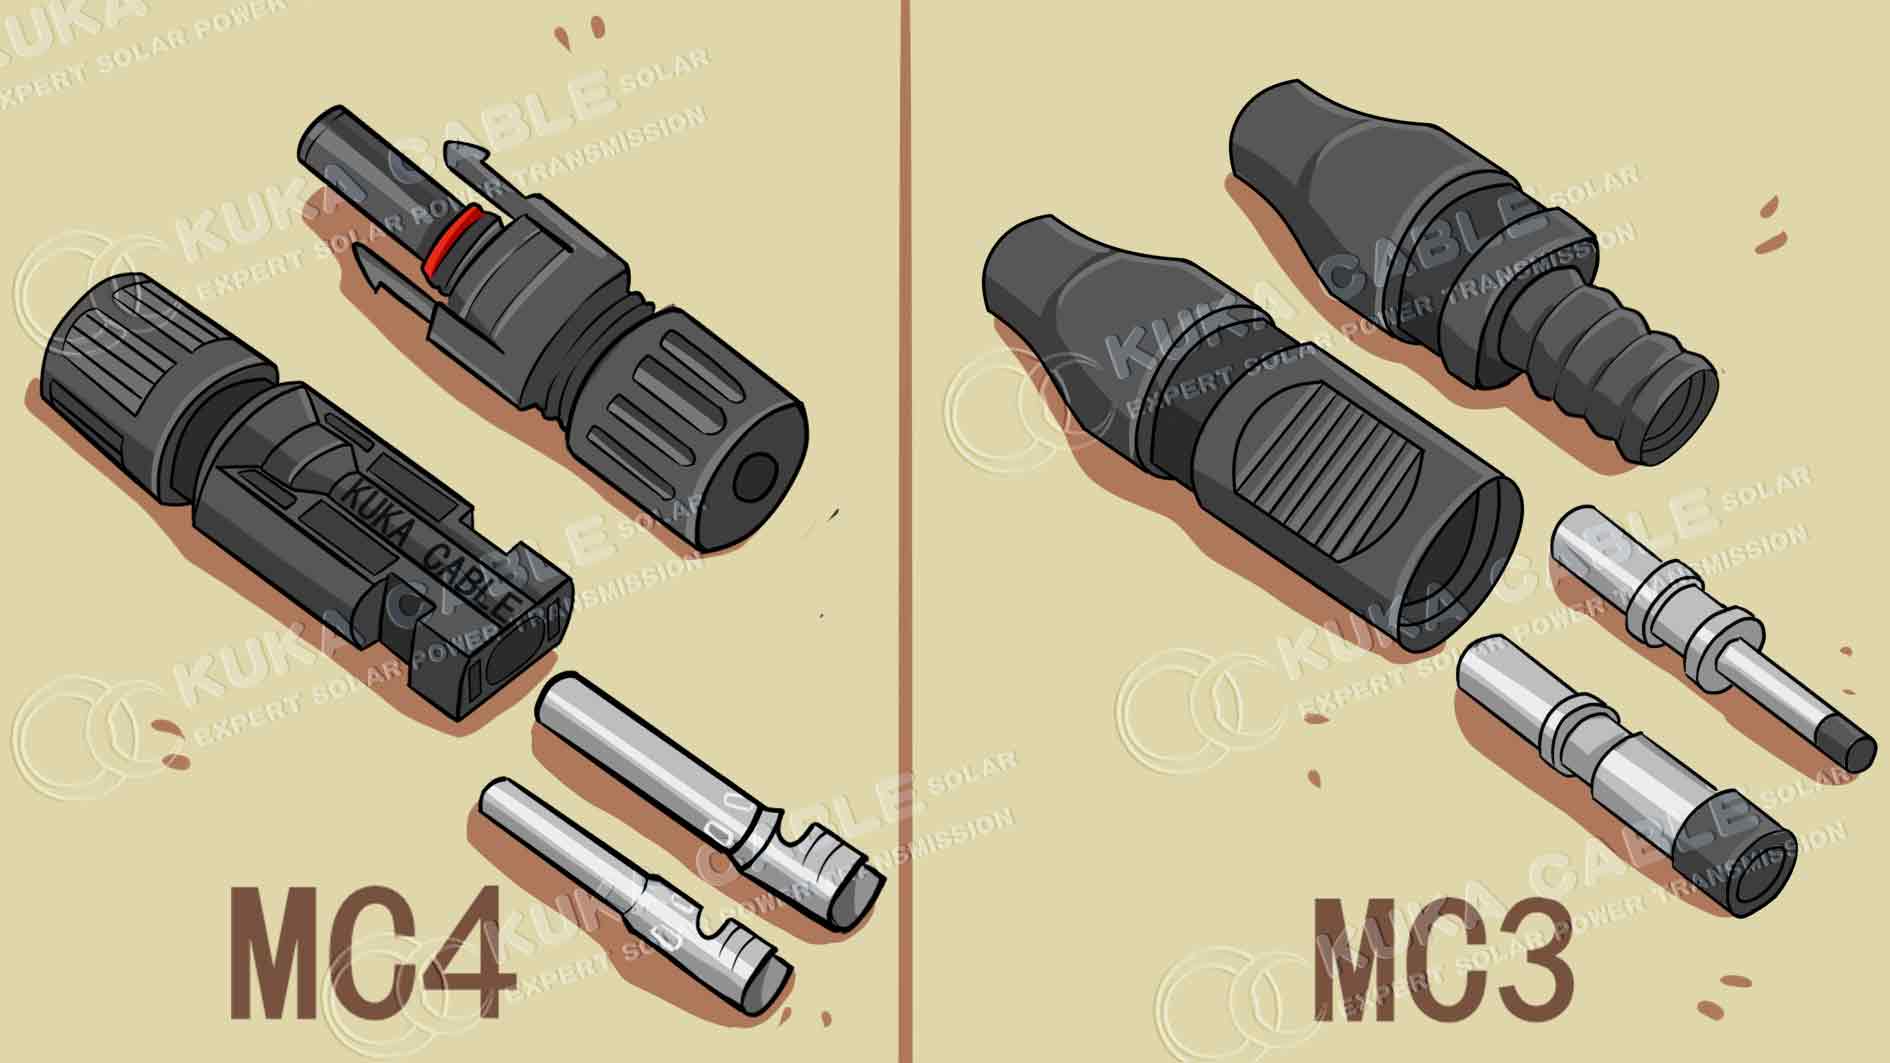
Certain manufacturers opt for generic connectors that are usually compatible with the widely-used MC4 connector, making them simple to identify by looking for phrases such as "MC4 compatible" in the datasheet. However, such combinations often do not meet UL rating requirements. Below, we will discuss a couple of solutions to address this issue.
MC4 Connector: The Most Popular Choice for Solar Panels
In fact, MC4 connectors are so widely used that they are now included with almost all solar panels and module-level devices, such as power optimizers and microinverters. MC4 connectors have been certified by TUV and comply with the National Electric Code.
The term "MC" stands for Multi-Contact, which is the brand name of the manufacturer that created this product. The connectors are constructed of UV resistant materials and are rated IP67, meaning they are completely weatherproof.
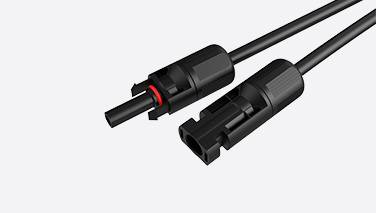
For added reliability, MC4 connectors have a locking mechanism that can only be released with a specialized tool. Each solar panel has two connectors: a male and a female connector. They are located at the ends of the junction box wires, with one connector being positive and the other being negative. Typically, the female connector is connected to the positive lead, but it is important to look for the markings or perform a voltmeter test as there may be exceptions.
The Rise and Fall of MC3 Connectors
MC3 connectors, like MC4, have a flexible seal to protect against precipitation and come in male and female types to prevent incorrect connections. However, they are now mostly obsolete due to the lack of a positive locking mechanism required by the National Electric Code. They are still available for use with older panels or smaller setups that do not require compliance. When buying used panels, ensure the connectors meet all relevant regulations. Generic connectors are often compatible with MC4, but may not meet standards. Stick with one connector type or request a warranty addendum to replace non-compliant connectors.
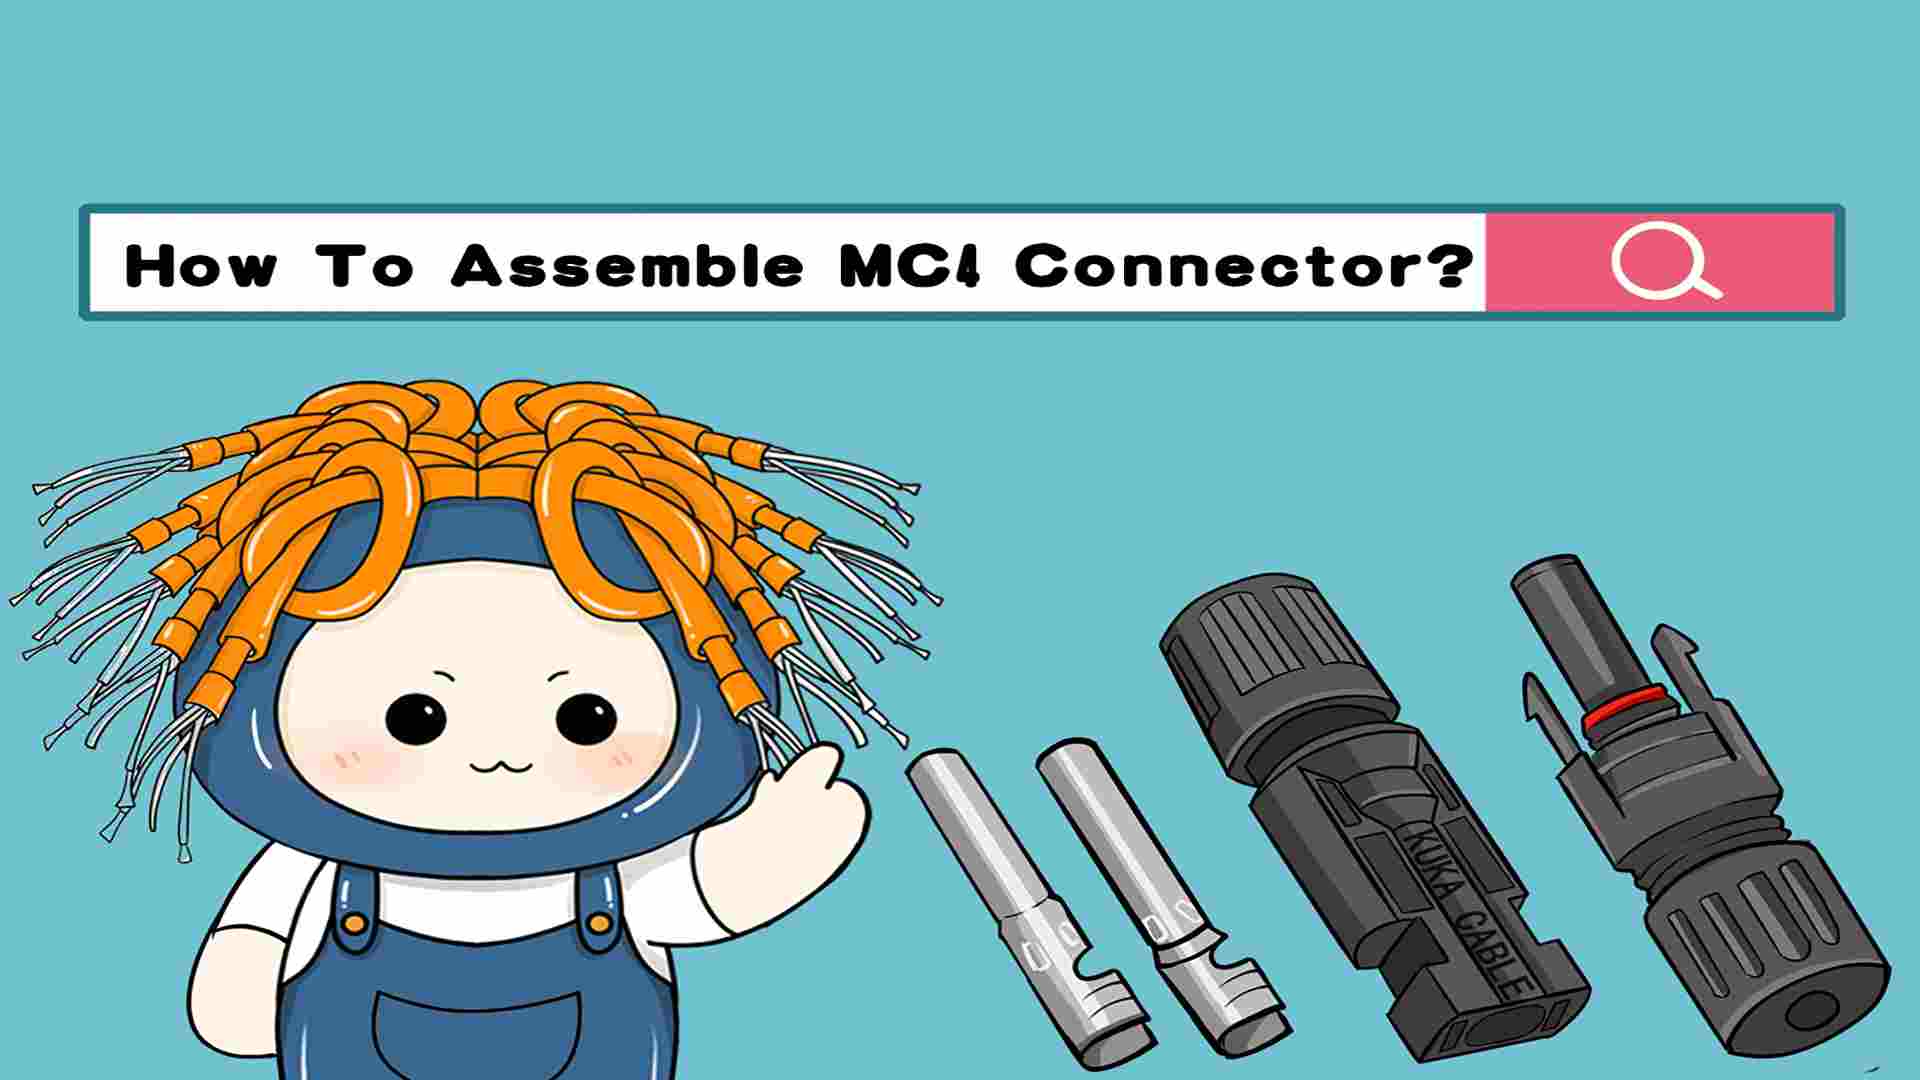
How to assemble mc4 solar connector
If you want to connect solar panels at home by yourself, you only need a few tools and can install them in a few simple steps. It is best to prepare a toolkit containing MC4 connectors, crimping pliers, wire strippers, and a wrench for matching connectors. All of these can be easily purchased on Amazon. Let's start the quick installation now.
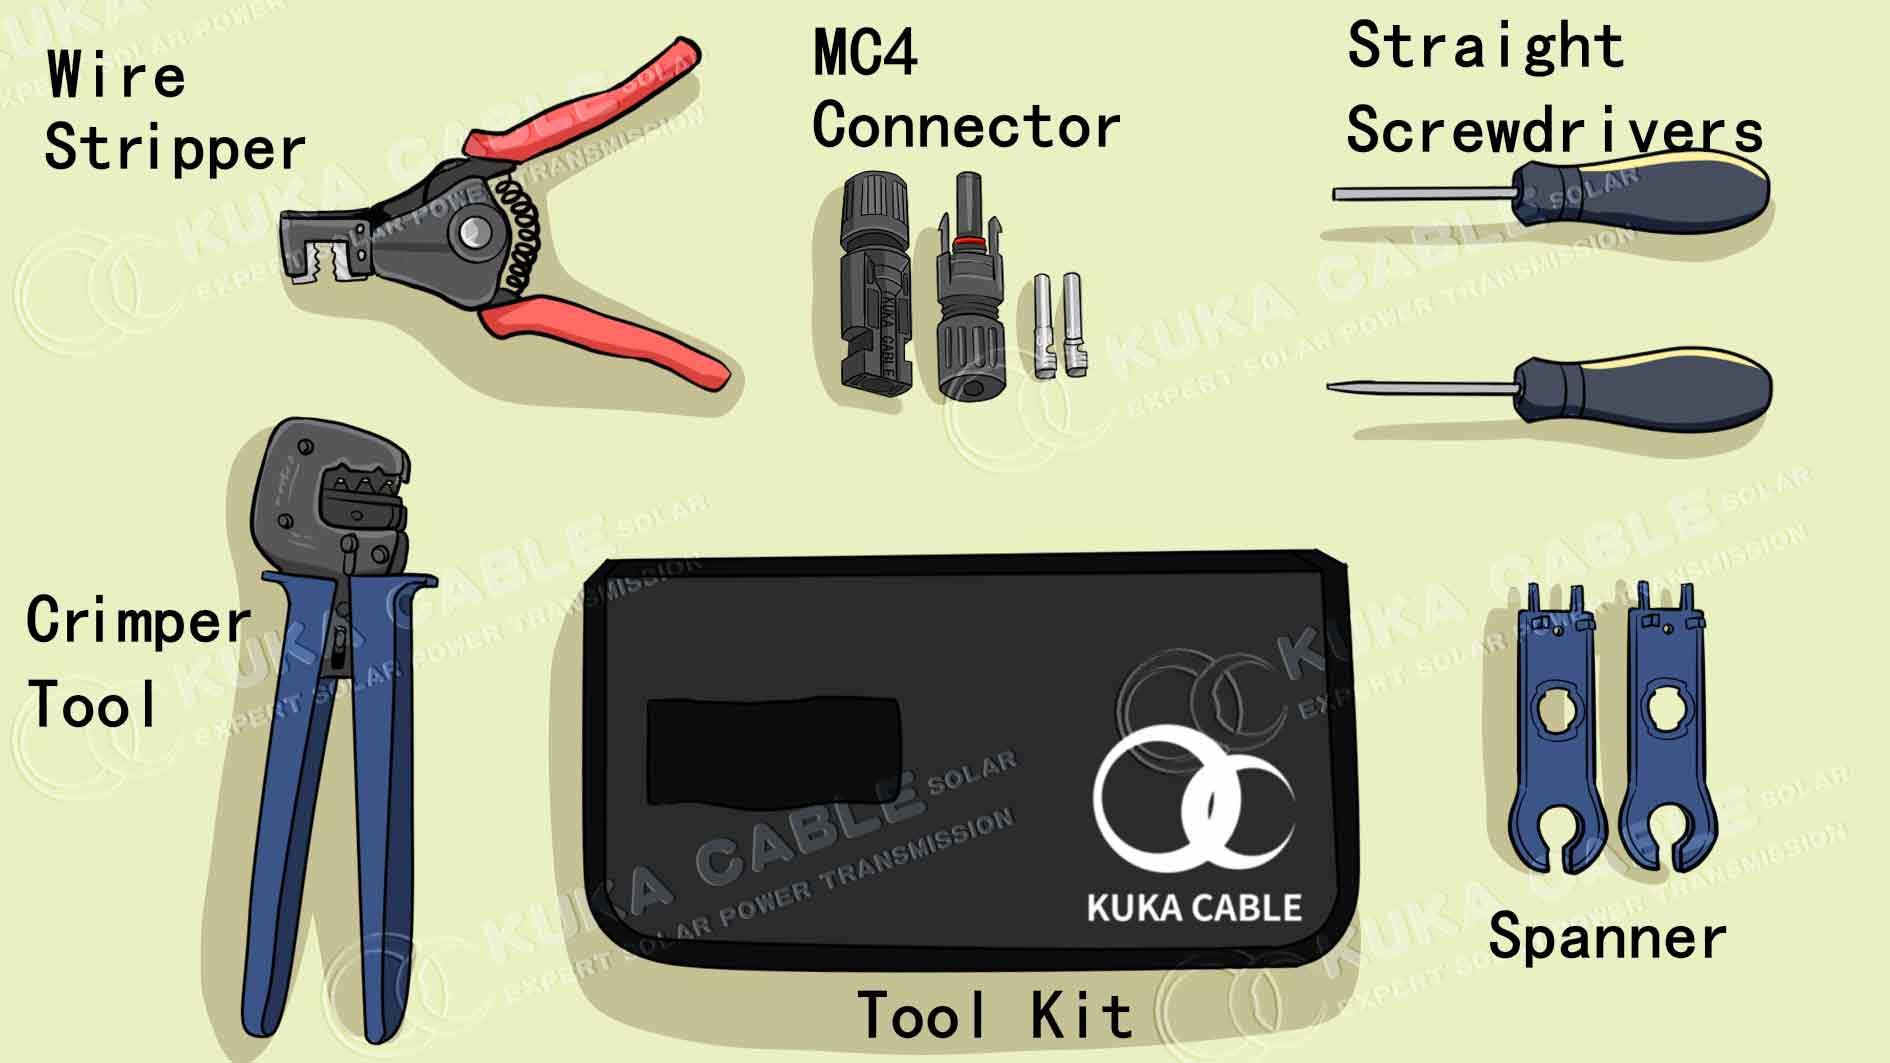
Assembling a Connector: The Five Main Elements
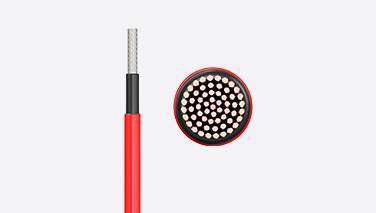
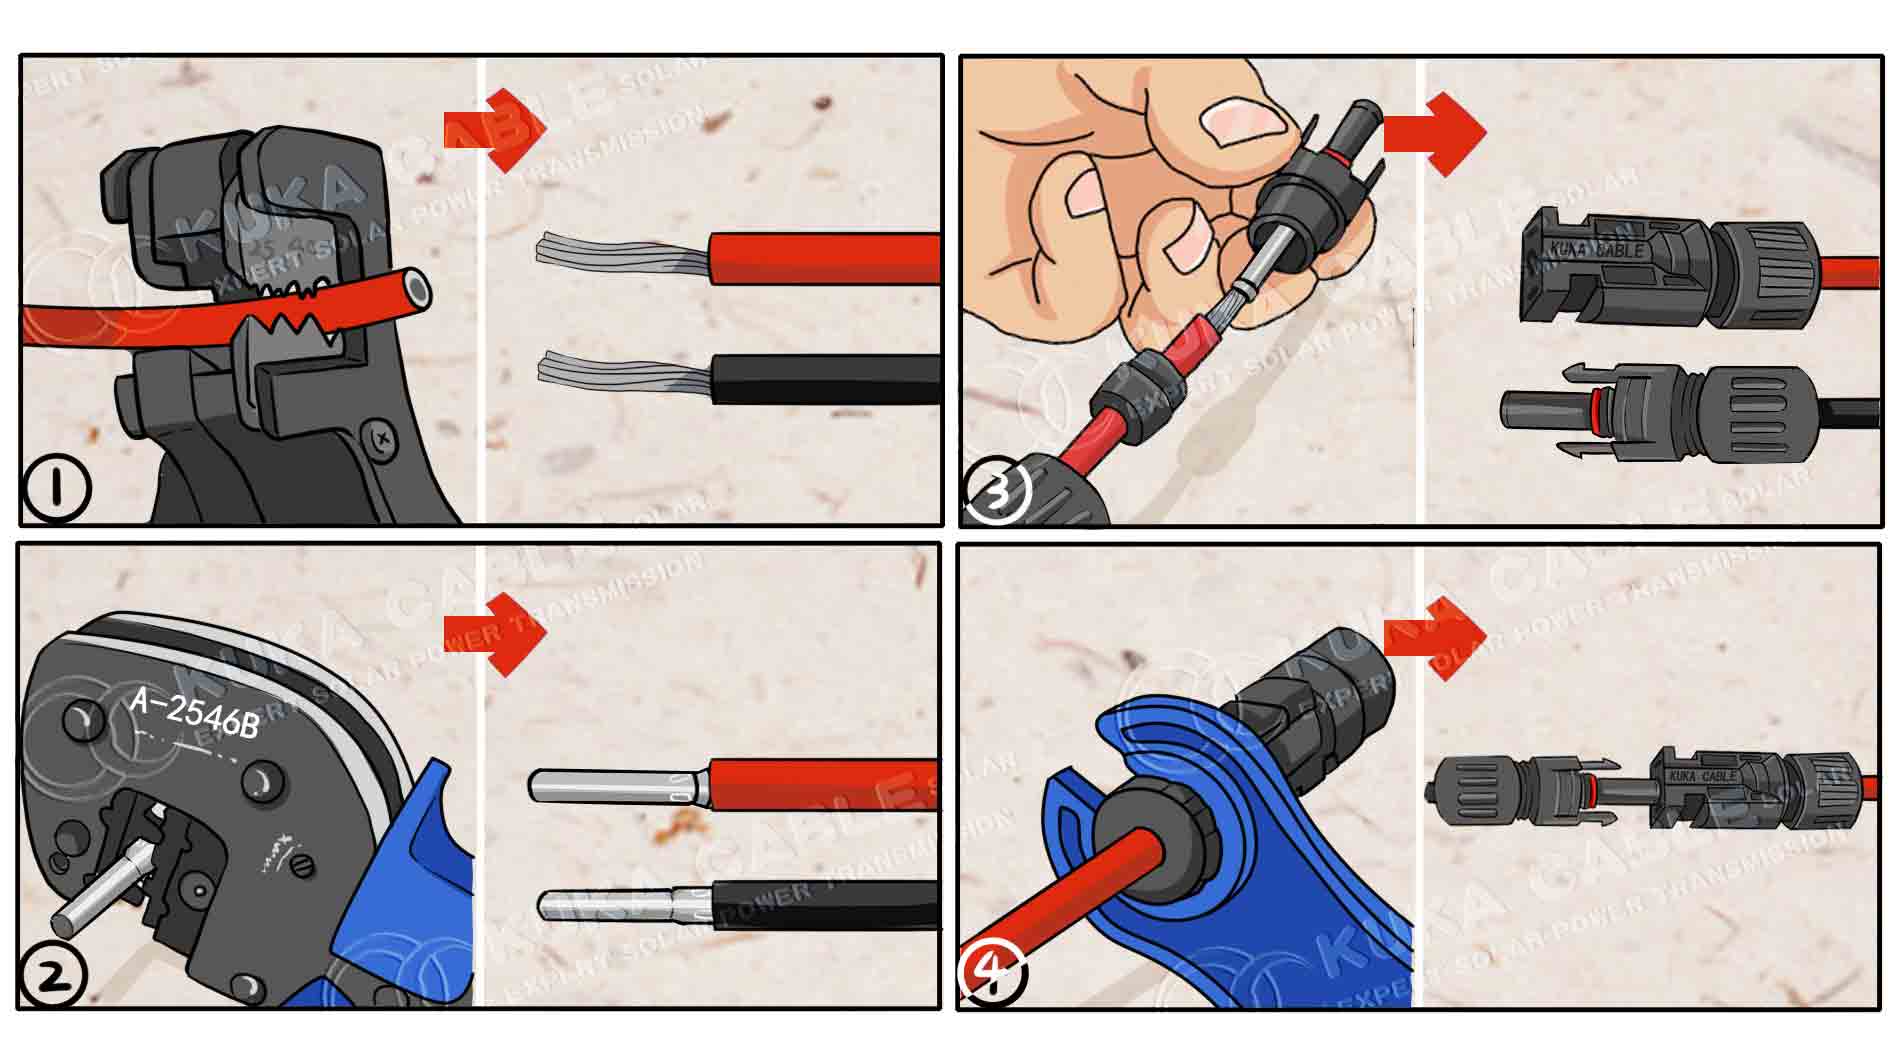
1.After removing the old connector, strip about 1-2cm of insulation from the cable tip. Use a cable cutter for best results.
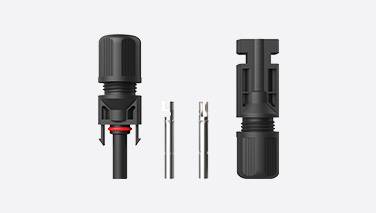
2.A typical connector consists of four elements. Disassemble it by unscrewing the cap.Thread the wire and cable gland through the cap.
3.Place the pin in the crimping tool's correct slot, then insert the exposed cable end into the cavity. Gently hold it in place and crimp the pin to the wire with the tool.
4.Join the main component and the rest of the connector by screwing them together at the center.
5.Lastly, tighten the connection and test it by gently pulling on the connector to ensure it is secure on the cable's end.
Tips for Properly Connecting Solar Panels in Series
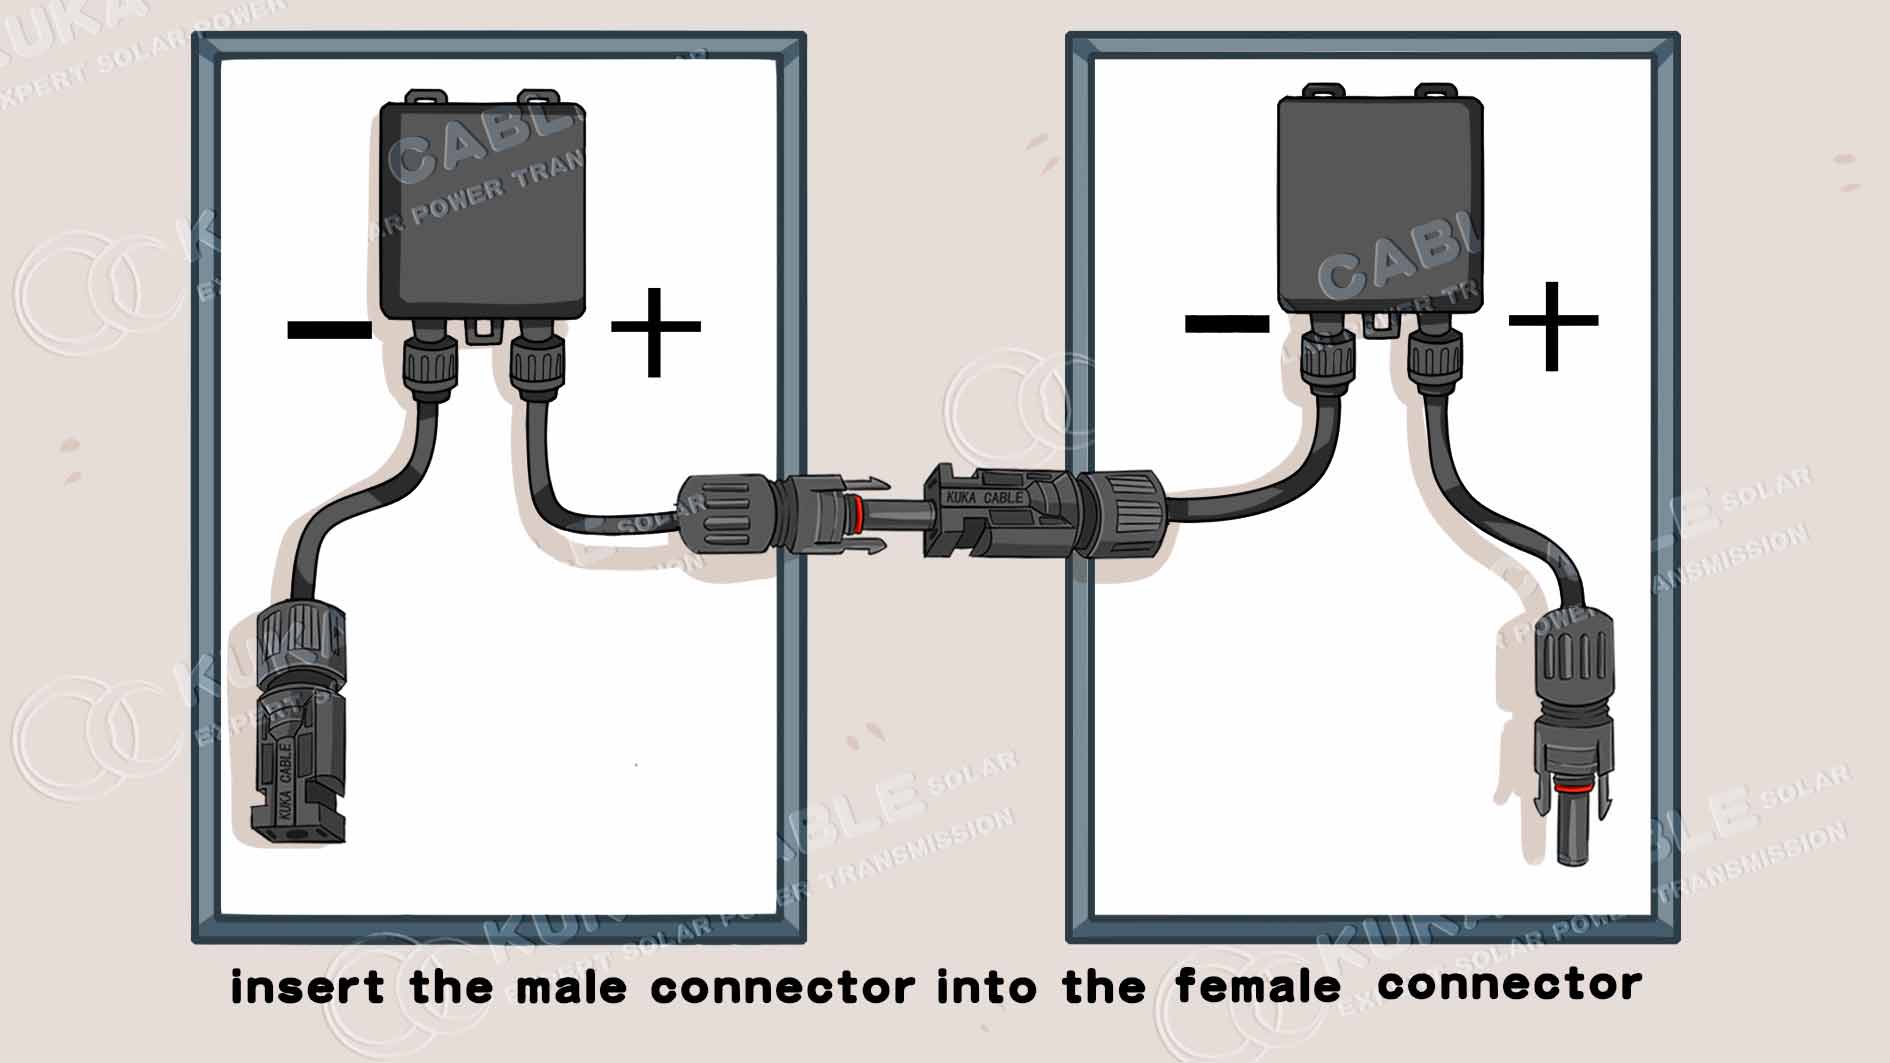
When using MC4 connectors to connect two or more modules in series, simply click the male and female wires together to increase the system's voltage. For example, if each module has a voltage of 18, connecting two of them in series will produce an output voltage of 36, while the current will remain unchanged.
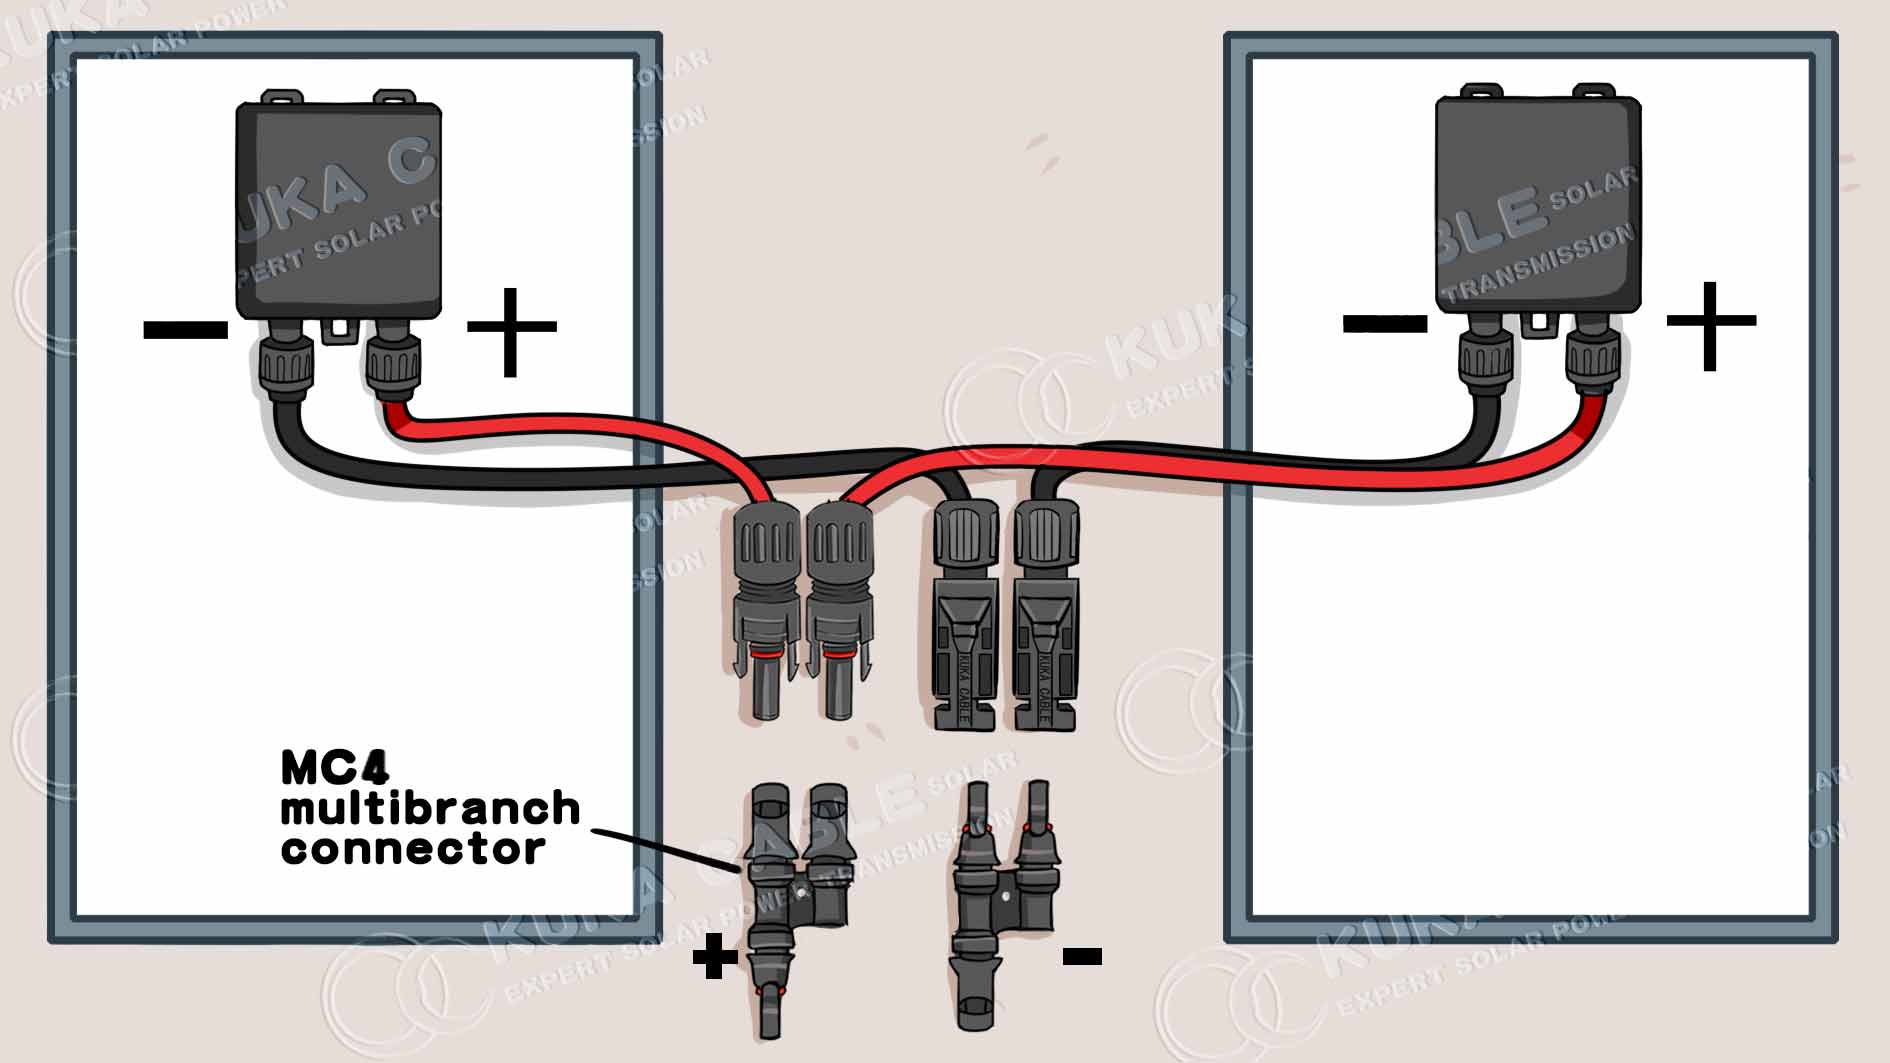
When wiring in parallel, connect the positive and negative leads to increase the system's current without affecting the voltage. However, two male or two female ends cannot be connected directly, and multibranch connectors are needed. Two types of multibranch connectors are available: one takes two male connectors and outputs a single male connector, while the other does the same with female connectors. Remember to use a special unlocking tool to separate the modules by pressing the two extended posts on one end of the tool into the side of the female connector.


